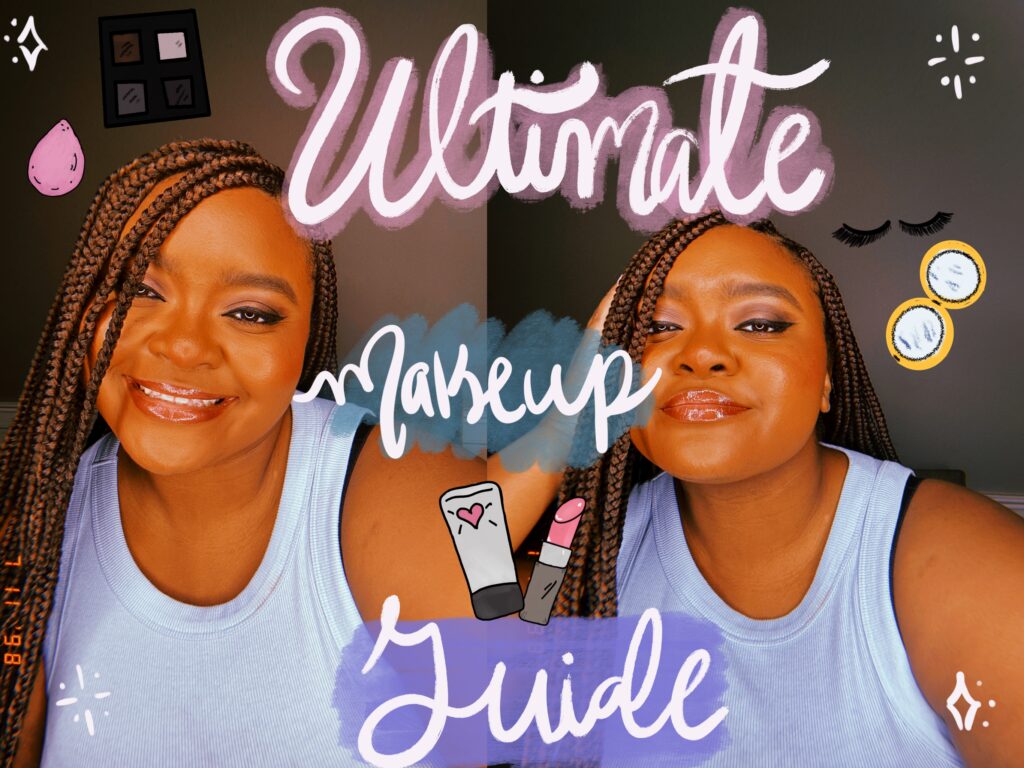
Sometimes the idea of makeup can be overwhelming. Where do you start? What goes where? Too many products! But don’t worry my little padawan! Think of makeup as art and your face is the canvas. You just need the right tools, recommendations, and guidance to help you along the way.
Which is why I have a simple, makeup guide for you to follow :). I’ve also offered personally recommended products for you to use, but don’t get overwhelmed again, it’s just to offer perspective and help paint a picture!
The Base
1. Skincare: Start with a clean and moisturized face. Cleanse your skin using a gentle cleanser suitable for your skin type. Follow up with a moisturizer to hydrate your skin and create a smooth canvas for makeup application. I usually give it 5-10 minutes to settle and absorb into my skin.
2. Primer: Apply a makeup primer to help your makeup last longer and create a smooth base. Choose a primer that suits your skin type and concerns, whether it’s mattifying, hydrating, or color-correcting.
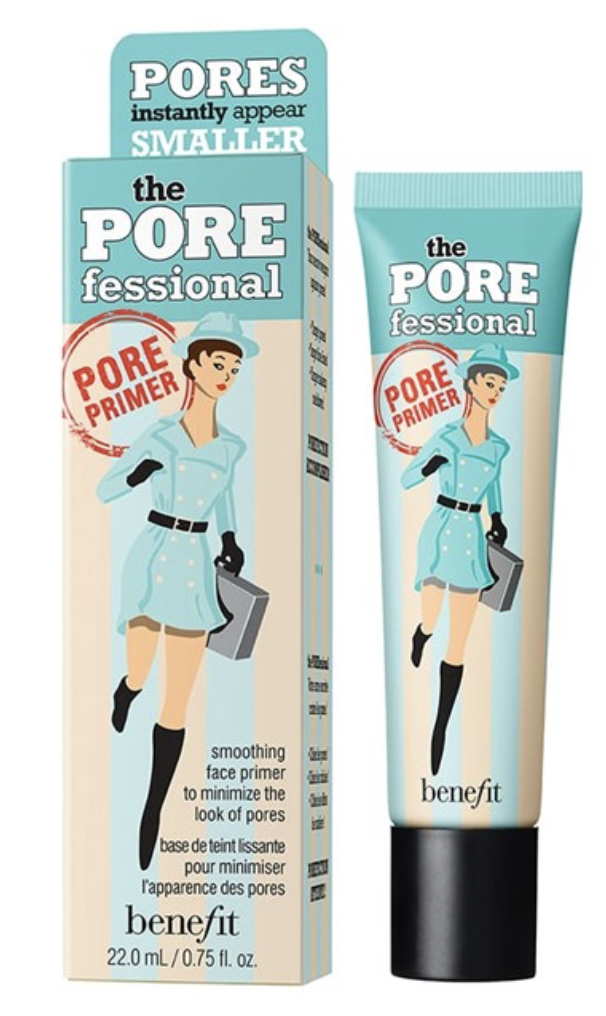
Two personal favorites of mine are Benefit Cosmetics and Milk hydrating primer. Benefit Cosmetics The POREfessional facial primal provides a mattifying base for an airbrushed filtered finish (especially for oily skin).
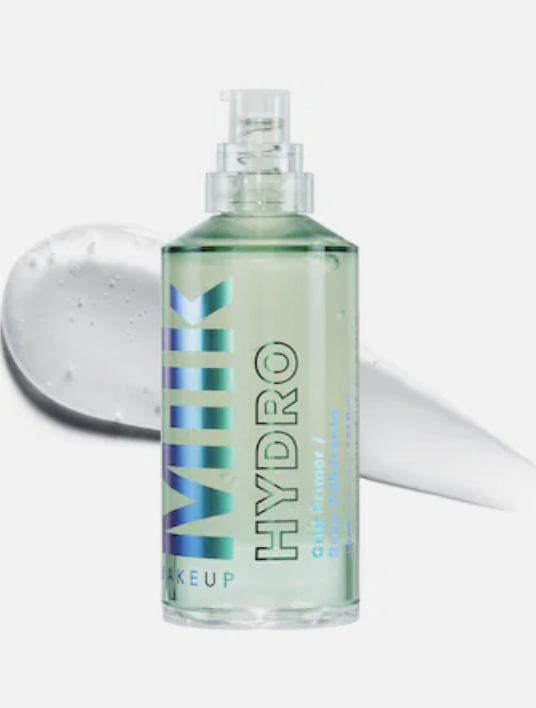
The Milk Hydro Grip Primer offers the same effect but more for my dry-faced divas to give a supple finish prior to the makeup routine. Based on both of my experiences with these primers, these are my favorite/go-to for my everyday makeup look, (I use the milk hydro grip primer more these days)!
The Main Event (According to Kenz)
3. Eyebrows: Define and shape your eyebrows using an eyebrow pencil, powder, or gel. Fill in any sparse areas and create a defined arch using short, feathery strokes. Brush through your brows with a spoolie brush to blend the product and groom them. Afterward, to define or clean up your eyebrows use a lighter concealer underneath the brow using an angled brush (I recommend the morphe 165) for a groomed and snatched look for a beat face! After the clean-up, use a small beauty blender sponge to buff out the concealer going downward, and make sure you buff out both ends of the eyebrows too!
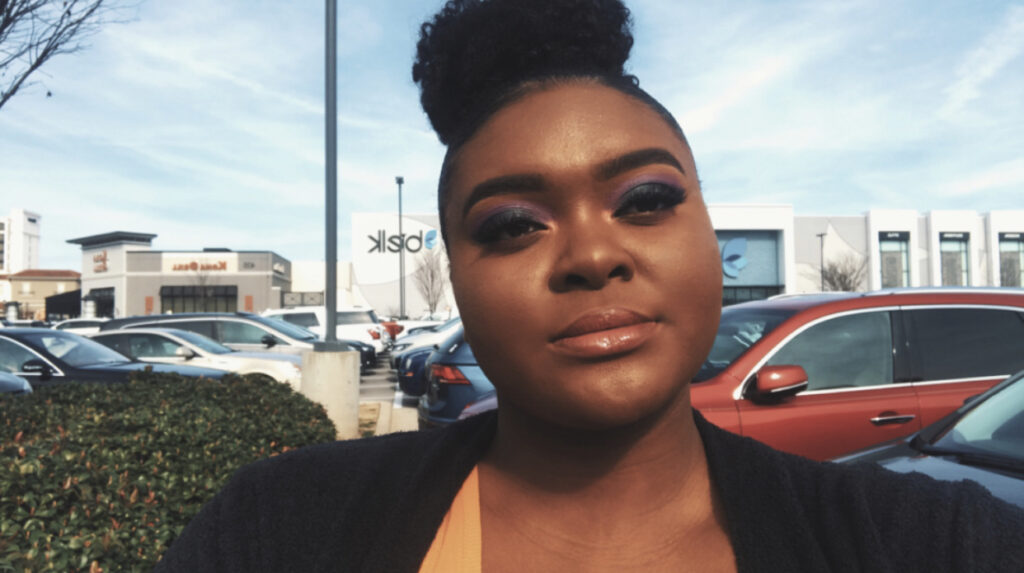
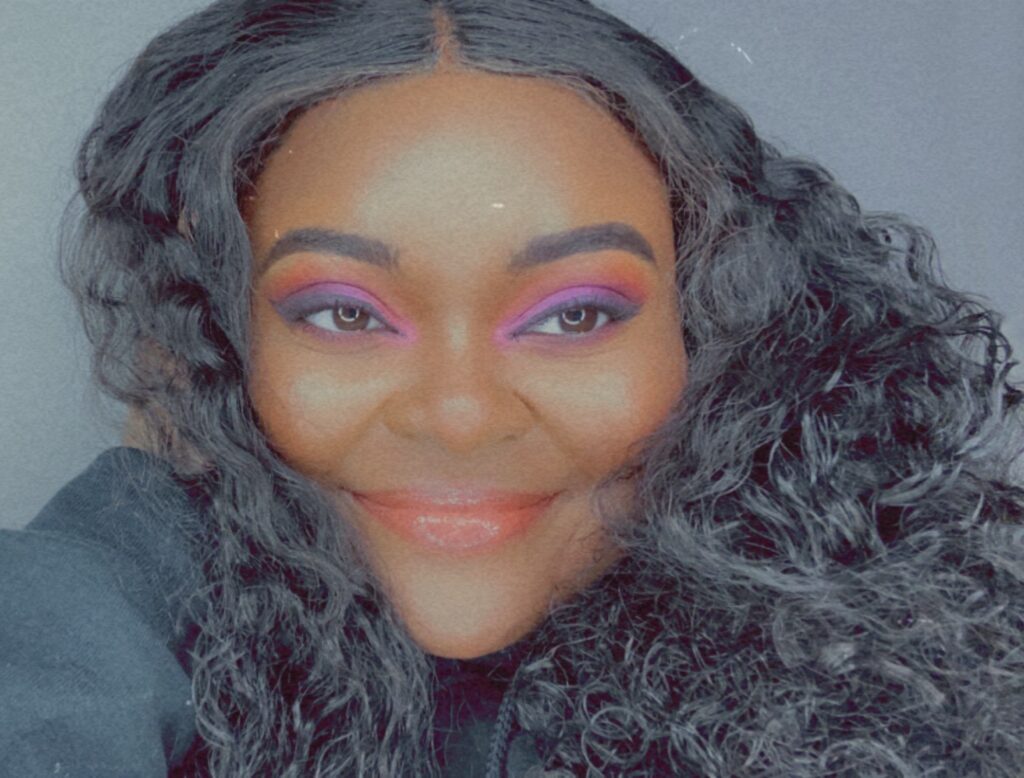

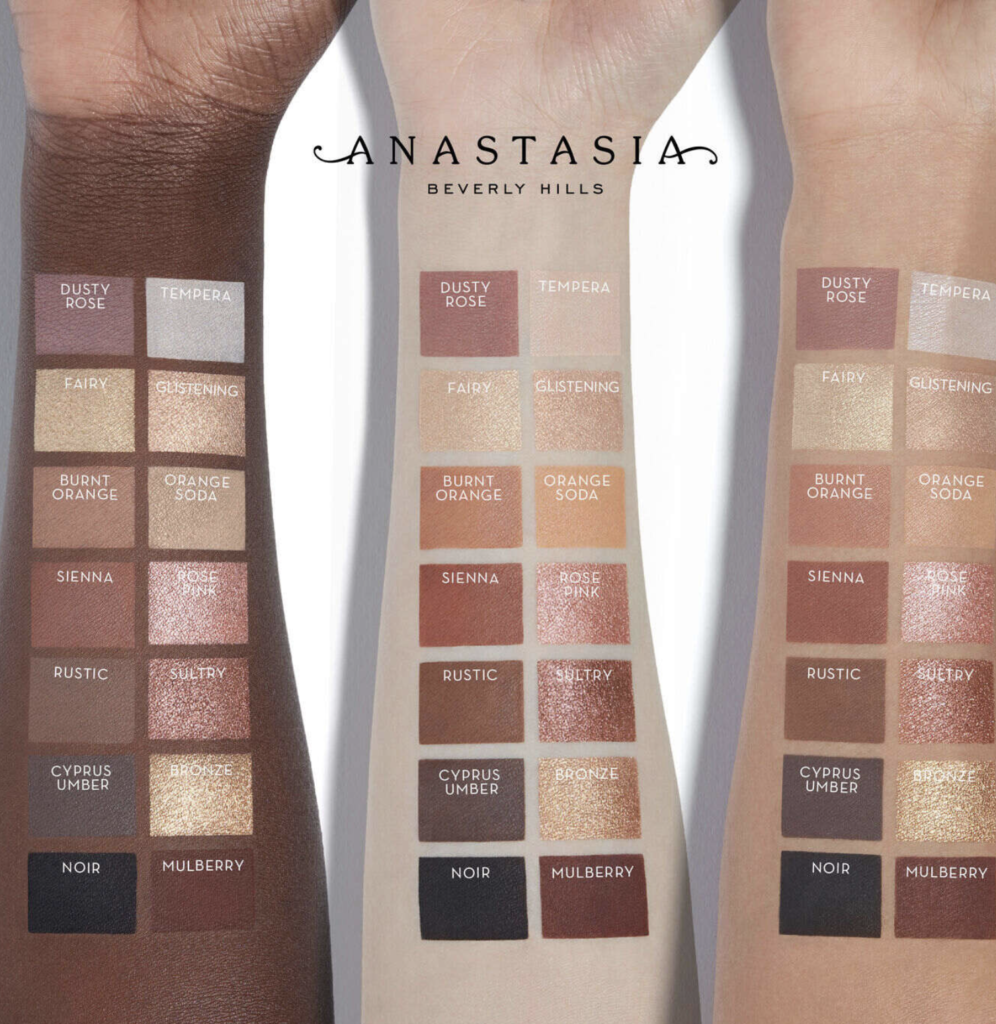
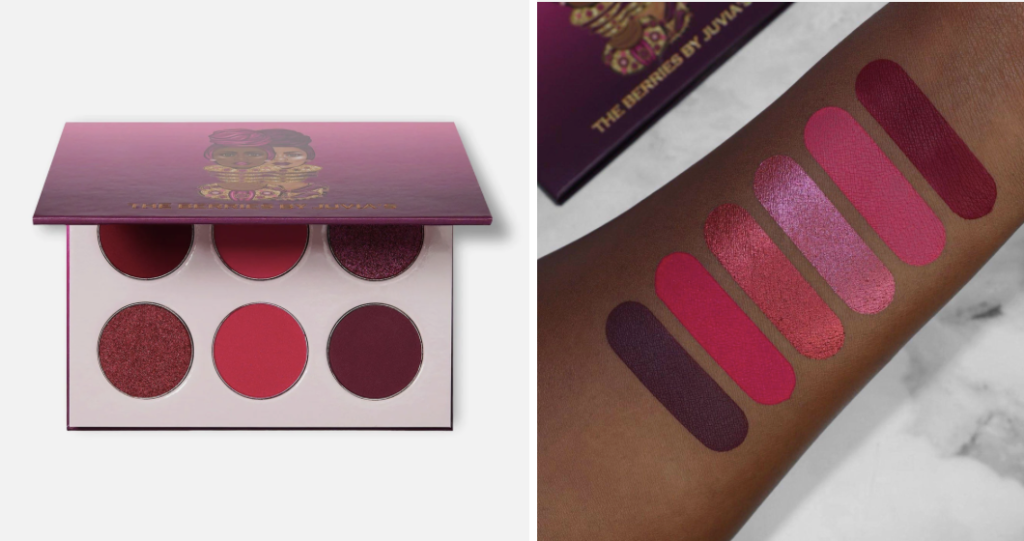
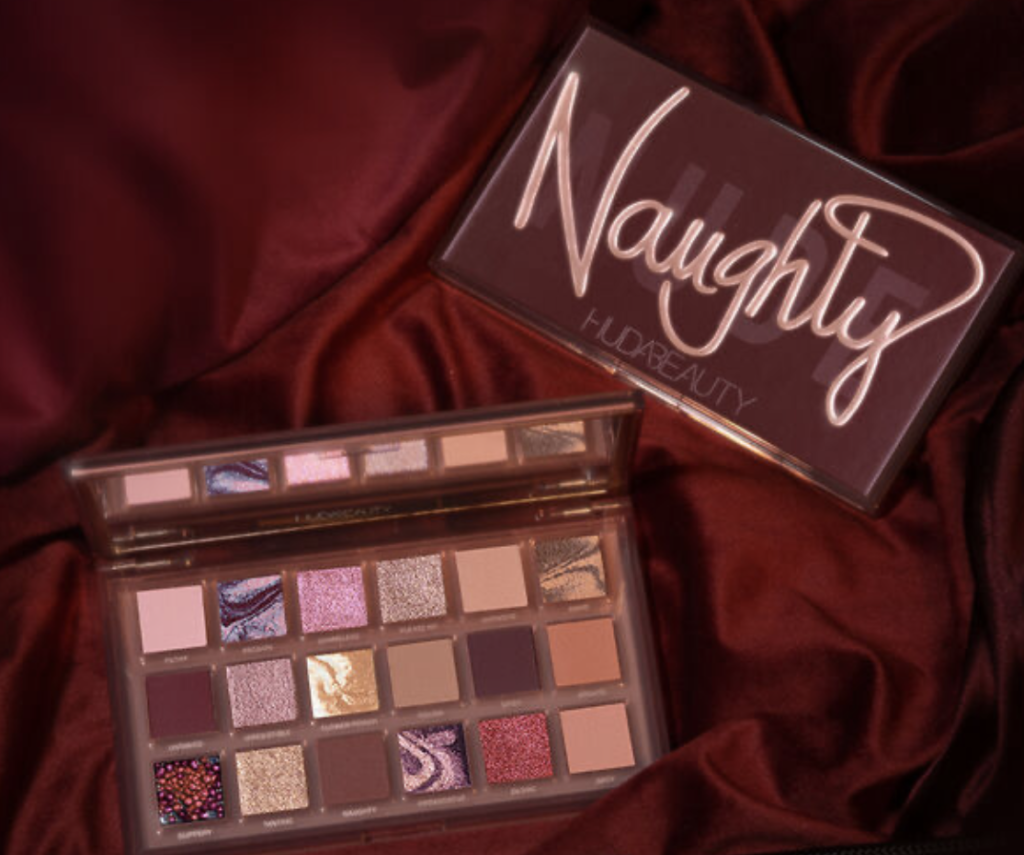
4. Eyeshadow: Choose a neutral eyeshadow palette with shades that complement your skin tone. Start with a light base color all over your lid, then apply a slightly darker shade to the crease for depth. Blend the colors well for a seamless look. Once you develop and master warm/neutral tones, start diving into more colorful palettes and looks (if you choose to). Some of my favorite eyeshadow palettes that offer great quality, variety and range are: Juvia’s Place, Anastasia Beverly Hills, Beauty Bay, and Huda Beauty, to name a few. Tip: For better pigment, I use the P. Louise eye primer in “Rumor 1” as a base to make my eyeshadow pop!
5. Eyeliner: Apply eyeliner along your upper lash line to define your eyes. You can use a pencil, liquid liner, or gel liner depending on your preference. Start with a thin line and build up thickness if desired. For a softer look, smudge the liner with a smudging brush or cotton swab– for this effect, I would recommend a gel-based eyeliner like the Maybelline Eye Studio Lasting Drama Gel Eyeliner. It’s affordable and available at your nearest drug store, Ulta, and even Target locations. This product should offer a flat eyeliner brush, so no need to buy one!
The London Look
6. Foundation or Tinted Moisturizer: Choose a foundation or tinted moisturizer that matches your skin tone. Apply it using a brush, sponge, or your fingers, blending it evenly across your face. Start with a small amount and build up coverage as needed. Also, if you want to achieve an airbrushed, filtered finish, use a dense foundation brush (a personal favorite of mine is the NYX professional Can’t Stop Won’t Stop foundation brush) to blend your makeup.
I start by squirting the makeup on the back of my hand and placing the makeup on my face using my fingers, placing the foundation on different areas of my face. Then using a tapping motion with the brush, I blend the foundation all throughout my face toward my temple perimeter and slightly past the jawline. Afterward, I follow up with a beauty sponge (real techniques and elf for the win always) to pat into the skin and blend the foundation while tapping the excess makeup away. Using the sponge provides a seamless, smooth canvas and filtered finish (don’t forget to blend near the side perimeter of your face, near the ear area).
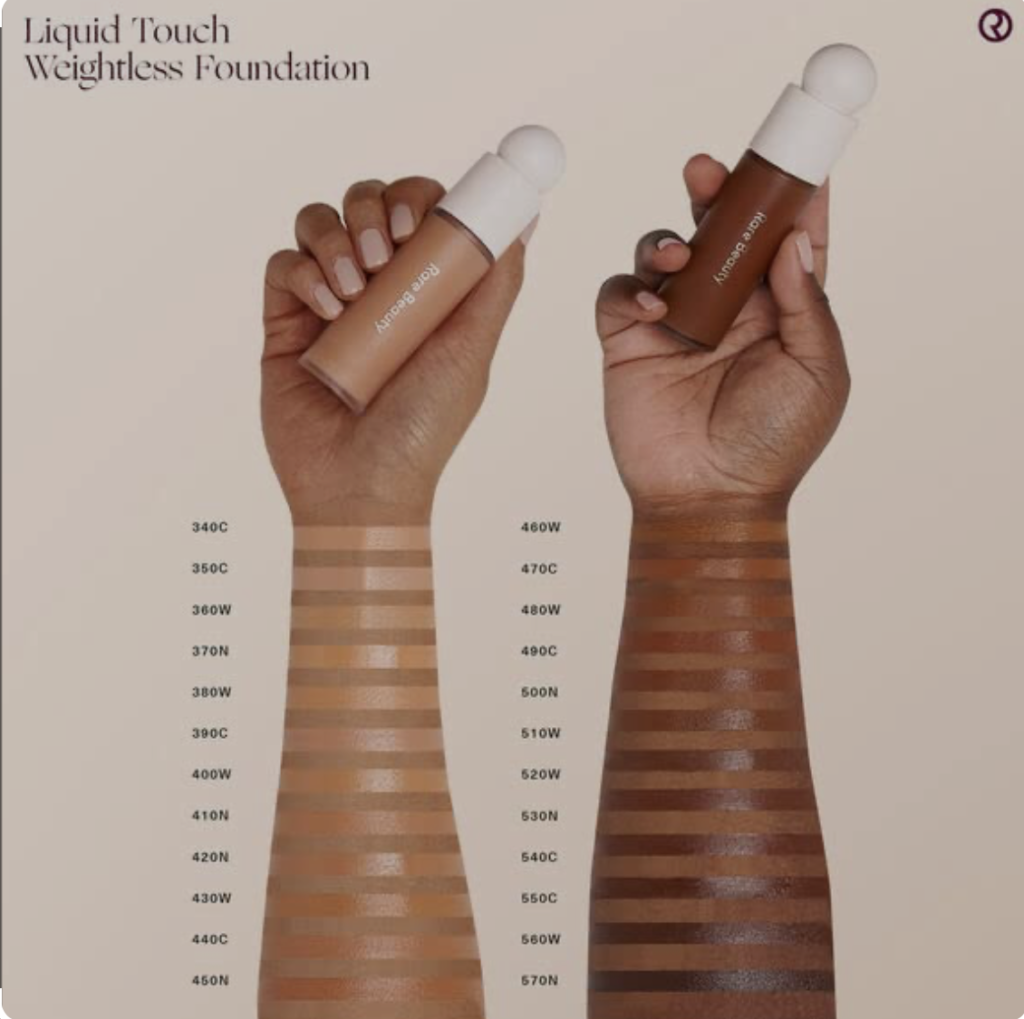
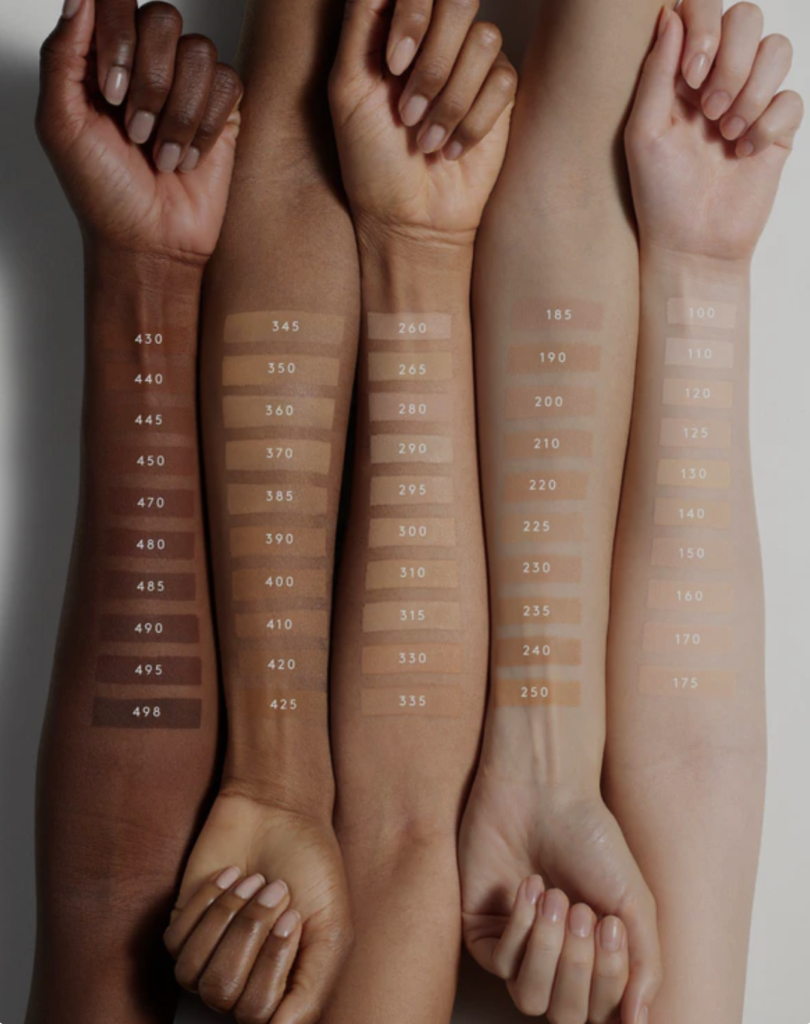
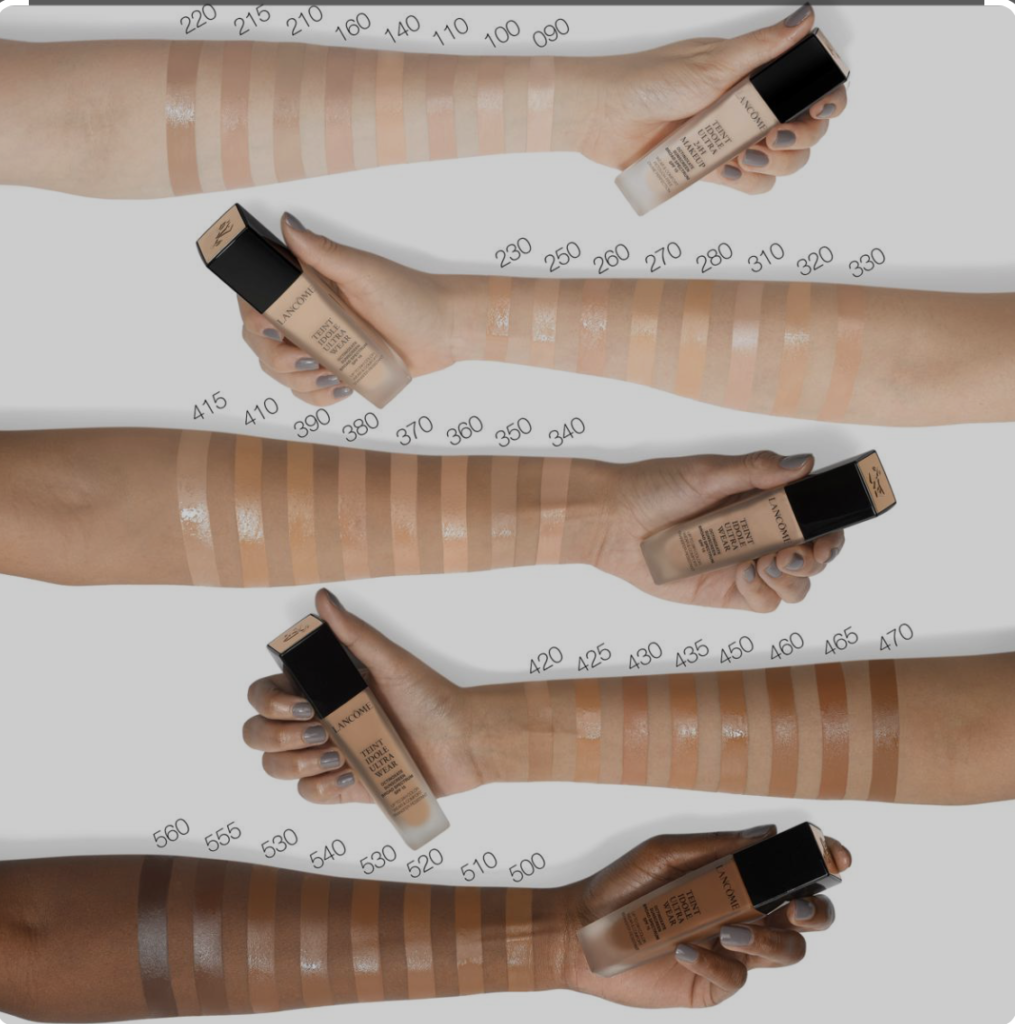
If you’re looking for a wider, quality-based color range, I suggest Rare Beauty Liquid Touch Weightless Foundation by Selena Gomez (I’m in 480W), Fenty Beauty Pro Filt’r Soft Matte Longwear Liquid Foundation by Rihanna (420), Lancôme Teint Idole Ultra 24H Long Wear Matte Foundation (515W), Anastasia Beverly Hills Luminous Foundation (I mix 490W with 500C), Too Faced Born This Way Natural Finish Longwear Liquid Foundation, Nars Light Reflecting Advanced Skincare Foundation (New Caledonia), Fitme Matte and Poreless by Maybelline and L’Oreal Infallible Fresh Wear 24HR Foundation!
7. Concealer: Use a concealer to cover any blemishes, dark circles, or redness. Apply it in a patting motion using a brush or your fingertips, and blend it seamlessly into your foundation. My top two concealers to use are NARS Radiant Creamy Concealer (I’m in the shade hazelnut for a vibrant, natural finish), and Too Faced Born This Way Super Coverage Multi-use Longwear Concealer (I use Chai as a brightener underneath the corners of my eyes)—the crème de la crème of all concealers…in my humble opinion😊! For a cheaper alternative, I recommend the elf camo concealer and L.A Girl concealer (Fawn).
8. Blush: Apply blush to the apples of your cheeks for a natural flush of color. Smile and use a blush brush to lightly sweep the color upward toward your temples. Build up the intensity gradually for a subtle effect.
My face is round so I don’t apply on the apples of my cheeks but a hair away from them, still sweeping upwards toward my temples. Facial structure is important so to make sure where to place your blush look at this chart and match it with your face shape. Also, it’s makeup so feel free to place wherever you see fit!
Two of my favorite blushes at the moment are the Rare Beauty Soft Pinch Liquid Blush and Beauty Bakerie Bite-Size Snackaroons Blush. Both of these blushes are extremely pigmented, have undeniable longevity, and have amazing payoffs!
9. Setting Powder: Set your foundation and concealer with a translucent powder to help them stay in place. Apply a light dusting using a large fluffy brush, focusing on areas prone to oiliness or creasing, make sure there is no excess powder after sweeping, or baking, the setting powder off.
I use the Laura Mercier Translucent Loose Setting Powder in Medium-Deep. It’s a soft powder that once pressed into the skin, it doesn’t stick to the concealer, or blush, heavily and doesn’t leave a cakey look to your hard work. It’s simply thee best setting powder! I also recommend the Ben Nye Translucent setting powder as a cheaper alternative.
The Climax
10. Bronzer: While the setting powder is setting, take an angled brush (like the elf putty bronzer brush) to dip lightly into the bronzer and apply underneath the blushed cheek areas to the temple, the forehead temple, and the jawline. A cheap bronzer I use is the Morphe Glamabronze in the shade Leader. This is no longer sold in stores, however, they’ve rebranded and are now called it Bronze Show Velvet Matte Pressed Powder, I would be in the shade, Mocha Moment. Depending on your product, build up the intensity as you go– less, in this case, is defintely more.
11. Lip Color: Finish your look with a lip color of your choice. You can opt for lipstick, lip gloss, or tinted lip balm. Choose a shade that complements your skin tone and apply it evenly to your lips. I don’t believe in spending $20-30 on a lip liner, so I alway opt for the NYX Slim Lip Pencil Creamy Long-Lasting Lip Liner in the shades espresso, brown, club hopper, and Auburn (War eagle). Sidebar: I’m actually a Bama fan but War Eagle in my heart LOL!
The Completed Look
12. Setting Spray: Lock your makeup in place with a setting spray. Hold the spray a few inches away from your face and mist it evenly to help your makeup stay fresh for longer. I use the Urban Decay setting spray (original) and let me tell you…spraying this after I’ve set my face with my Laura Mercier Powder is Chef’s kiss, maybe even Chef’s snogging.
13. Mascara: Curl your lashes using an eyelash curler, then apply mascara to add length and volume (if need be). Start at the base of your lashes and wiggle the wand upward. Apply multiple coats if needed, letting each coat dry before applying the next. I like to put mascara on after my setting spray so that once I close my eyes and spray my face, it doesn’t activate the mascara nor leave black residue underneath my eyes.
14. Highlighter (Optional not really…lol jk): Take a highlighter that matches your undertone and compliments your skin tone. I usually love a nice cotton candy pink or a chocolate geode gold from Anastasia Beverly Hills, Becca Cosmetics, and beauty bakerie. For the best, soft airbrushed application, use a synthetic fan or highlighter brush to sweep above the blush area on your cheeks and down your nose (if you prefer). I follow up with the same foundation brush I used throughout and blend my highlighter in some more just to make sure it’s a seamless finish.
Remember, practice is key to improving your makeup skills. Experiment with different products, techniques, and colors to find what works best for you. Have fun and embrace your own unique style!
An important key takeaway from all of this is to always blend, blend, blend! You put on your foundation? Blend. Concealed and didn’t feel? Blend. Blushed them cheeks?? Bleeenddddduh. Brooonzed for the GAWDS??? Dnelb dahling! Do you have a structured settlement and need cash now?? BLEEEEEENNDDDD!!
However, if you’re a visual, slightly audible, and overall kinesthetic learner like muah and would prefer a step-by-step tutorial, click here to see one of my makeup videos from my YouTube Channel. Don’t forget to like, comment, subscribe, and/or share if you choose to…but we all know it’s best to choose the red pill 😉.
